Plastic injection moulding: process, parameters and quality control
Updated: May 2026
Plastic injection moulding is a manufacturing process widely used for the series production of components with high dimensional accuracy.
The process consists of melting polymers in granular form, which are then injected at a suitable pressure into a metal mould.
This technology makes it possible to produce components even with complex geometries, ensuring high production efficiency and repeatability.
How injection moulding works
The injection moulding production cycle is a thermomechanical process made up of sequential steps, which must be monitored to ensure the quality and dimensional stability of the component.
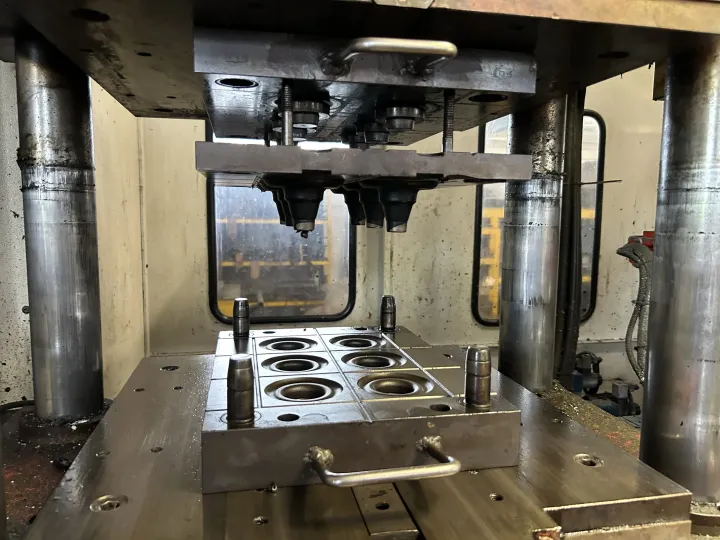
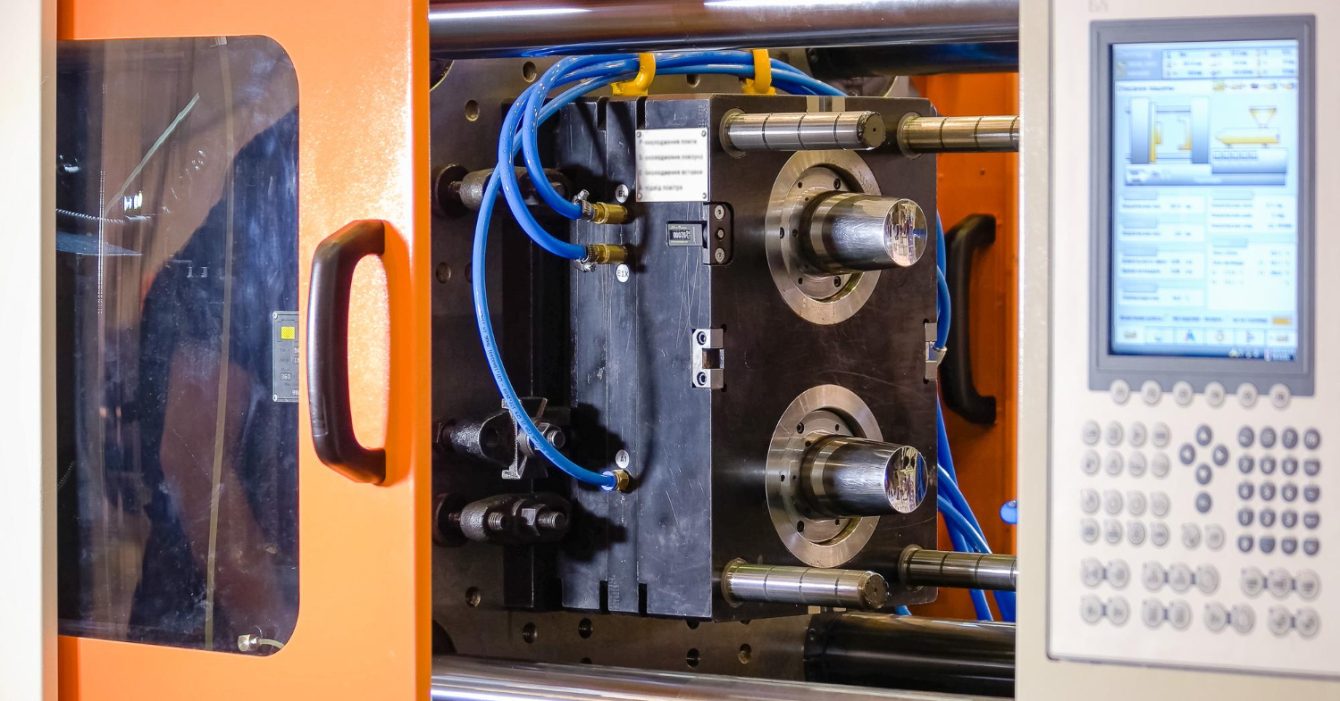
At Corti Srl, every step is engineered to maximise precision and optimise cycle times, also thanks to custom-designed injection moulds. The process is carried out on an injection moulding press.
1. Material preparation
The plastic material, in granular form, is loaded into the feed hopper. For hygroscopic polymers such as nylon (PA6/PA66) or PC (polycarbonate), pre-treatment by drying in special ovens is needed to reduce the moisture content and avoid surface defects such as silver streaks or structural problems.
2. Injection and melting of the material
The material is fed into the plasticising barrel, where it is melted by a combination of heat (temperatures between 120 °C and 360 °C) and the mechanical action of the plasticising screw. The molten material is injected into the mould at a suitable pressure, ensuring the cavity is completely filled even with complex geometries or thin walls.
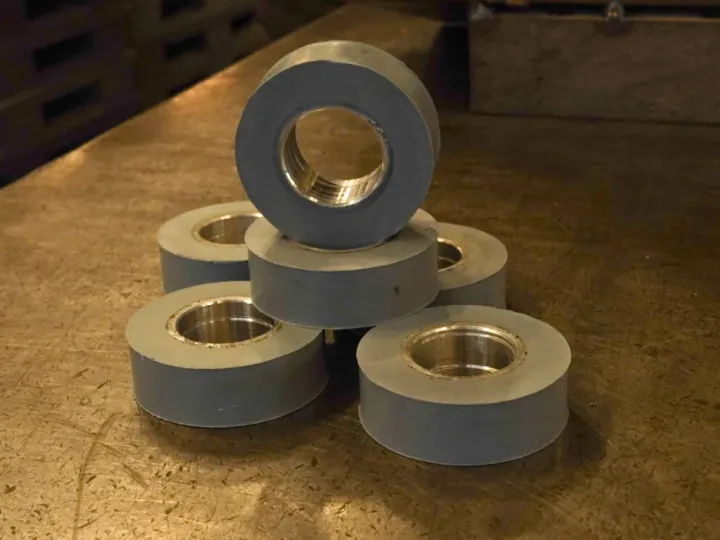
In this phase the screw meters and transfers the material through the nozzle into the closed mould. For overmoulding on metal inserts, the inserts are positioned in the mould before it closes.
3. Cooling and solidification
The material is cooled inside the mould until it has completely solidified. Temperature is controlled by integrated coolant channels, which ensure uniform heat dissipation and the dimensional stability of the part.
4. Ejection from the mould
At the end of cooling, the mould opens and the ejector pins release the component. In this phase the sprue, the residue of the feed channel generated during the process, is removed.
When injection moulding makes sense and when it is not the ideal choice
Injection moulding is an effective solution for the series production of plastic components, especially when the volumes justify the initial investment in the mould.
The main advantages of the process include high productivity with short cycle times (they can last just a few seconds) and the ability to produce complex geometries with tight tolerances.
However, the process has some limits: it is not cost-effective for prototypes or small batches, for which technologies such as 3D printing may be more suitable. It also requires an initial lead time for mould design and construction, generally between 4 and 12 weeks.
For simple geometries or rubber articles, compression moulding may be a more cost-effective alternative.
Thermoplastic materials for injection moulding
The choice of materials for injection moulding directly affects the mechanical, thermal and chemical performance of the final product. It is not only about the resin, but about the balance between processability, dimensional stability and functional requirements.
| Polymer class | Examples | Main properties | Examples of industrial applications |
|---|---|---|---|
| Commodity | PP, PE, PS (including phthalate-free) | Low cost, light weight, easy processing | Caps, containers, high-volume technical components |
| Engineering polymers | ABS, PA6, PA66, POM | Mechanical strength, stiffness, wear resistance | Gears, bushings, automotive components |
| High-performance engineering polymers | ULTEM® (PEI), PC | High heat resistance, UL 94 V-0 self-extinguishing, optical transparency | Components for medical, lighting and railway applications |
| Thermoplastic elastomers | TPU, SEBS | High elasticity, resistance to abrasion and chemicals, biocompatibility | Seals, anti-vibration parts, components for medical and automotive applications |
Corti Srl uses certified raw materials selected according to the application and the required performance, with properties that include chemical resistance, self-extinguishing behaviour according to UL 94 V-0 and, for specific applications, biocompatibility and thermomechanical performance.
Materials are selected together with the customer at the design stage.
The process parameters that determine component quality
Tolerances in injection moulding depend on the control of process parameters, including:
- Material/barrel temperature: it must stay within a controlled range (±10 °C from the set point). Higher temperatures can cause polymer degradation, while lower temperatures can increase viscosity and make it harder to fill the cavity.
- Injection speed and pressure: they affect how the mould cavity fills. Insufficient pressure can cause dimensional defects and non-conforming shrinkage, while excessive speed can cause local overheating and surface defects.
- Uniform cooling: it affects the final dimensional stability of the component. Uneven cooling is one of the main causes of deformation after ejection.
Controlling these parameters goes hand in hand with the design of the component and the mould:
- Component design: a correct distribution of wall thicknesses reduces the risk of deformation and stress concentrations.
- Mould design: the position of the injection points and cooling channels must be designed to ensure uniform filling of the mould and controlled heat dissipation.
Injection moulding defects: causes and technical solutions
Corti Srl constantly monitors and analyses the main process issues, also through control and monitoring systems based on Industry 4.0, and applies targeted technical solutions to ensure the quality of the finished component. The main defects found in injection moulding are described below.
Burn marks
They appear as dark or charred spots on the surface of the component, impairing its appearance and, in some cases, its performance.
Causes:
- Excessive temperature in the plasticising barrel
- Material left too long in the plasticising barrel
- Air trapped in the mould that overheats during injection
Solutions and prevention:
- Lower the temperature of the plasticising barrel
- Optimise the injection parameters and adjust the press tonnage
- Check the air exhaust system to improve the mould vents
Weld lines
They form where two melt fronts meet while the mould is filling, with possible effects on both appearance and mechanical properties.
Causes:
- Flow fronts that do not fuse properly
- Material and/or mould temperature too low
- Unsuitable injection speed
Solutions and prevention:
- Raise and optimise the material and/or mould temperature
- Adjust the injection speed so that the flows fuse correctly
- Optimise the mould design
- Consider materials or additives with better flow
Voids and porosity
They appear as internal or surface cavities, usually in the thickest sections of the component, with possible effects on mechanical performance.
Causes:
- Excessive shrinkage of the material during cooling
- Holding pressure insufficient to compensate for the natural volumetric shrinkage of the material
- Component geometries or design flaws in the mould and/or injection point that create variations in thickness
Solutions and prevention:
- Adjust the cooling times to ensure uniform solidification
- Raise and optimise the holding pressure
- Optimise the mould design to reduce differences in thickness
- Choose materials with a low shrinkage coefficient
Warping and shrinkage
They appear as changes in the geometry of the component compared with the CAD model, with possible effects on tolerances and assembly.
Causes:
- Uneven cooling of the component during solidification
- Unbalanced filling of the mould
- Uneven distribution of injection pressure and/or holding time and/or holding pressure
Solutions and prevention:
- Optimise the mould cooling system to ensure uniform heat dissipation
- Optimise the mould design to promote uniform filling
- Optimise the injection and holding parameters
- Choose materials with a low tendency to shrink and warp
Why choose Corti Srl for injection moulding
Corti Srl has been working in plastic moulding since 1961, with an engineering approach focused on process control and the management of complex technical production.
To support international markets, the company works on projects for the Middle Eastern markets, where demand for Made in Italy technical components is growing strongly.
Its experience in contract injection moulding allows it to process advanced engineering polymers and produce components with complex geometries and tight tolerances.
Industry 4.0 technologies allow real-time monitoring of critical parameters such as temperature, pressure and cycle times, contributing to efficiency and scrap reduction, with a positive impact on production sustainability.
Production capacity covers a wide size range, from the moulding of micro-components weighing a few grams up to parts weighing a maximum of 1,400 grams, ensuring flexibility of application.
Co-design, supported by CAD modelling and 3D prototyping, makes it possible to optimise geometries and materials from the design stage, improving efficiency and reducing industrialisation times.
The reliability of the process is also reflected in certified plastic components for high-responsibility applications, including solutions for the security systems of the Milano Cortina 2026 Olympic Village.
Technical advice
You can request technical advice or a customised quotation based on your specific application requirements. For more information, please contact us.
FAQ
How does injection moulding work?
Injection moulding consists of melting plastic granules in a heated barrel and then injecting them at a suitable pressure into a metal mould using an injection moulding press. The material then cools and solidifies, taking the shape of the cavity, before being ejected mechanically. The process is one of the most efficient methods for the series production of complex plastic components.
What are the steps of injection moulding?
The main steps of the process are: material preparation, injection and melting, cooling and solidification, ejection from the mould. The cycle is continuous and allows series production.
Which plastics are most commonly used?
The most common materials include PE (polyethylene), PP (polypropylene), ABS and nylon. For critical applications, high-performance engineering polymers such as ULTEM® (PEI) and PC (polycarbonate) or elastomers such as TPU (thermoplastic polyurethane) and SEBS (styrene-ethylene-butylene-styrene) are used. The choice depends on the thermal, mechanical and chemical resistance requirements, as well as on the operating conditions and design constraints.
What are the most common injection moulding defects and how are they solved?
The main injection moulding defects include burn marks, weld lines, voids and porosity, and warping of the part. They are solved by adjusting the process parameters (pressure, temperature and cooling times) and by improving the design of the mould vents.
When is it worth working with a contract injection moulding company?
Working with a qualified partner brings specialised technical expertise, lower fixed production costs and access to advanced Industry 4.0 technologies. It also makes it possible to optimise co-design and manage the entire product life cycle without having to maintain a dedicated in-house production department.